Life is interesting. Last year I bought a Fuji Digital camera that I almost exclusively shoot in black and white.
Thirty years ago I used to love shooting Fujicolor, enriching my visual life much more than Paul Simon’s Kodachrome.
This year Anita de Villiers introduced me to a simple way of blending on Photoshop that gives me my Fujicolor effect again.
It all started with the information that the human eye can see 16 f-stops of light while the humble digital sensor can only see 5 f-stops. This is quite fundamental to digital photography, and why some great photographers still shoot transparencies that are scanned into Photoshop for gorgeous processing. Nick Brandt, for example.
This f-stop limit of the digital sensor is as important as why you should shoot in RAW. The good thing is if you have followed nothing of my paper so far, you can still do all of this with bracketed JPEG pictures.
Fujicolor slide film had an amazing range of light and dark capture. My latest and greatest digital sensor (the camera of which is now in for repairs / replacement after a drowning incident in the ocean) can only do that with bracketing.
So when I am shooting a landscape of extremes I bracket twice: once for the foreground and once for the sky. Then I blend them. The exposure is based on a neutral area and then treating the mids and lows histogram as one and the highs histogram as another. So my two exposures would look like this on the histogram:
If you have not bracketed then you can easily recover two pictures from a RAW file like this and blend them.
This is the original RAW file:

and this is my sky exposure:
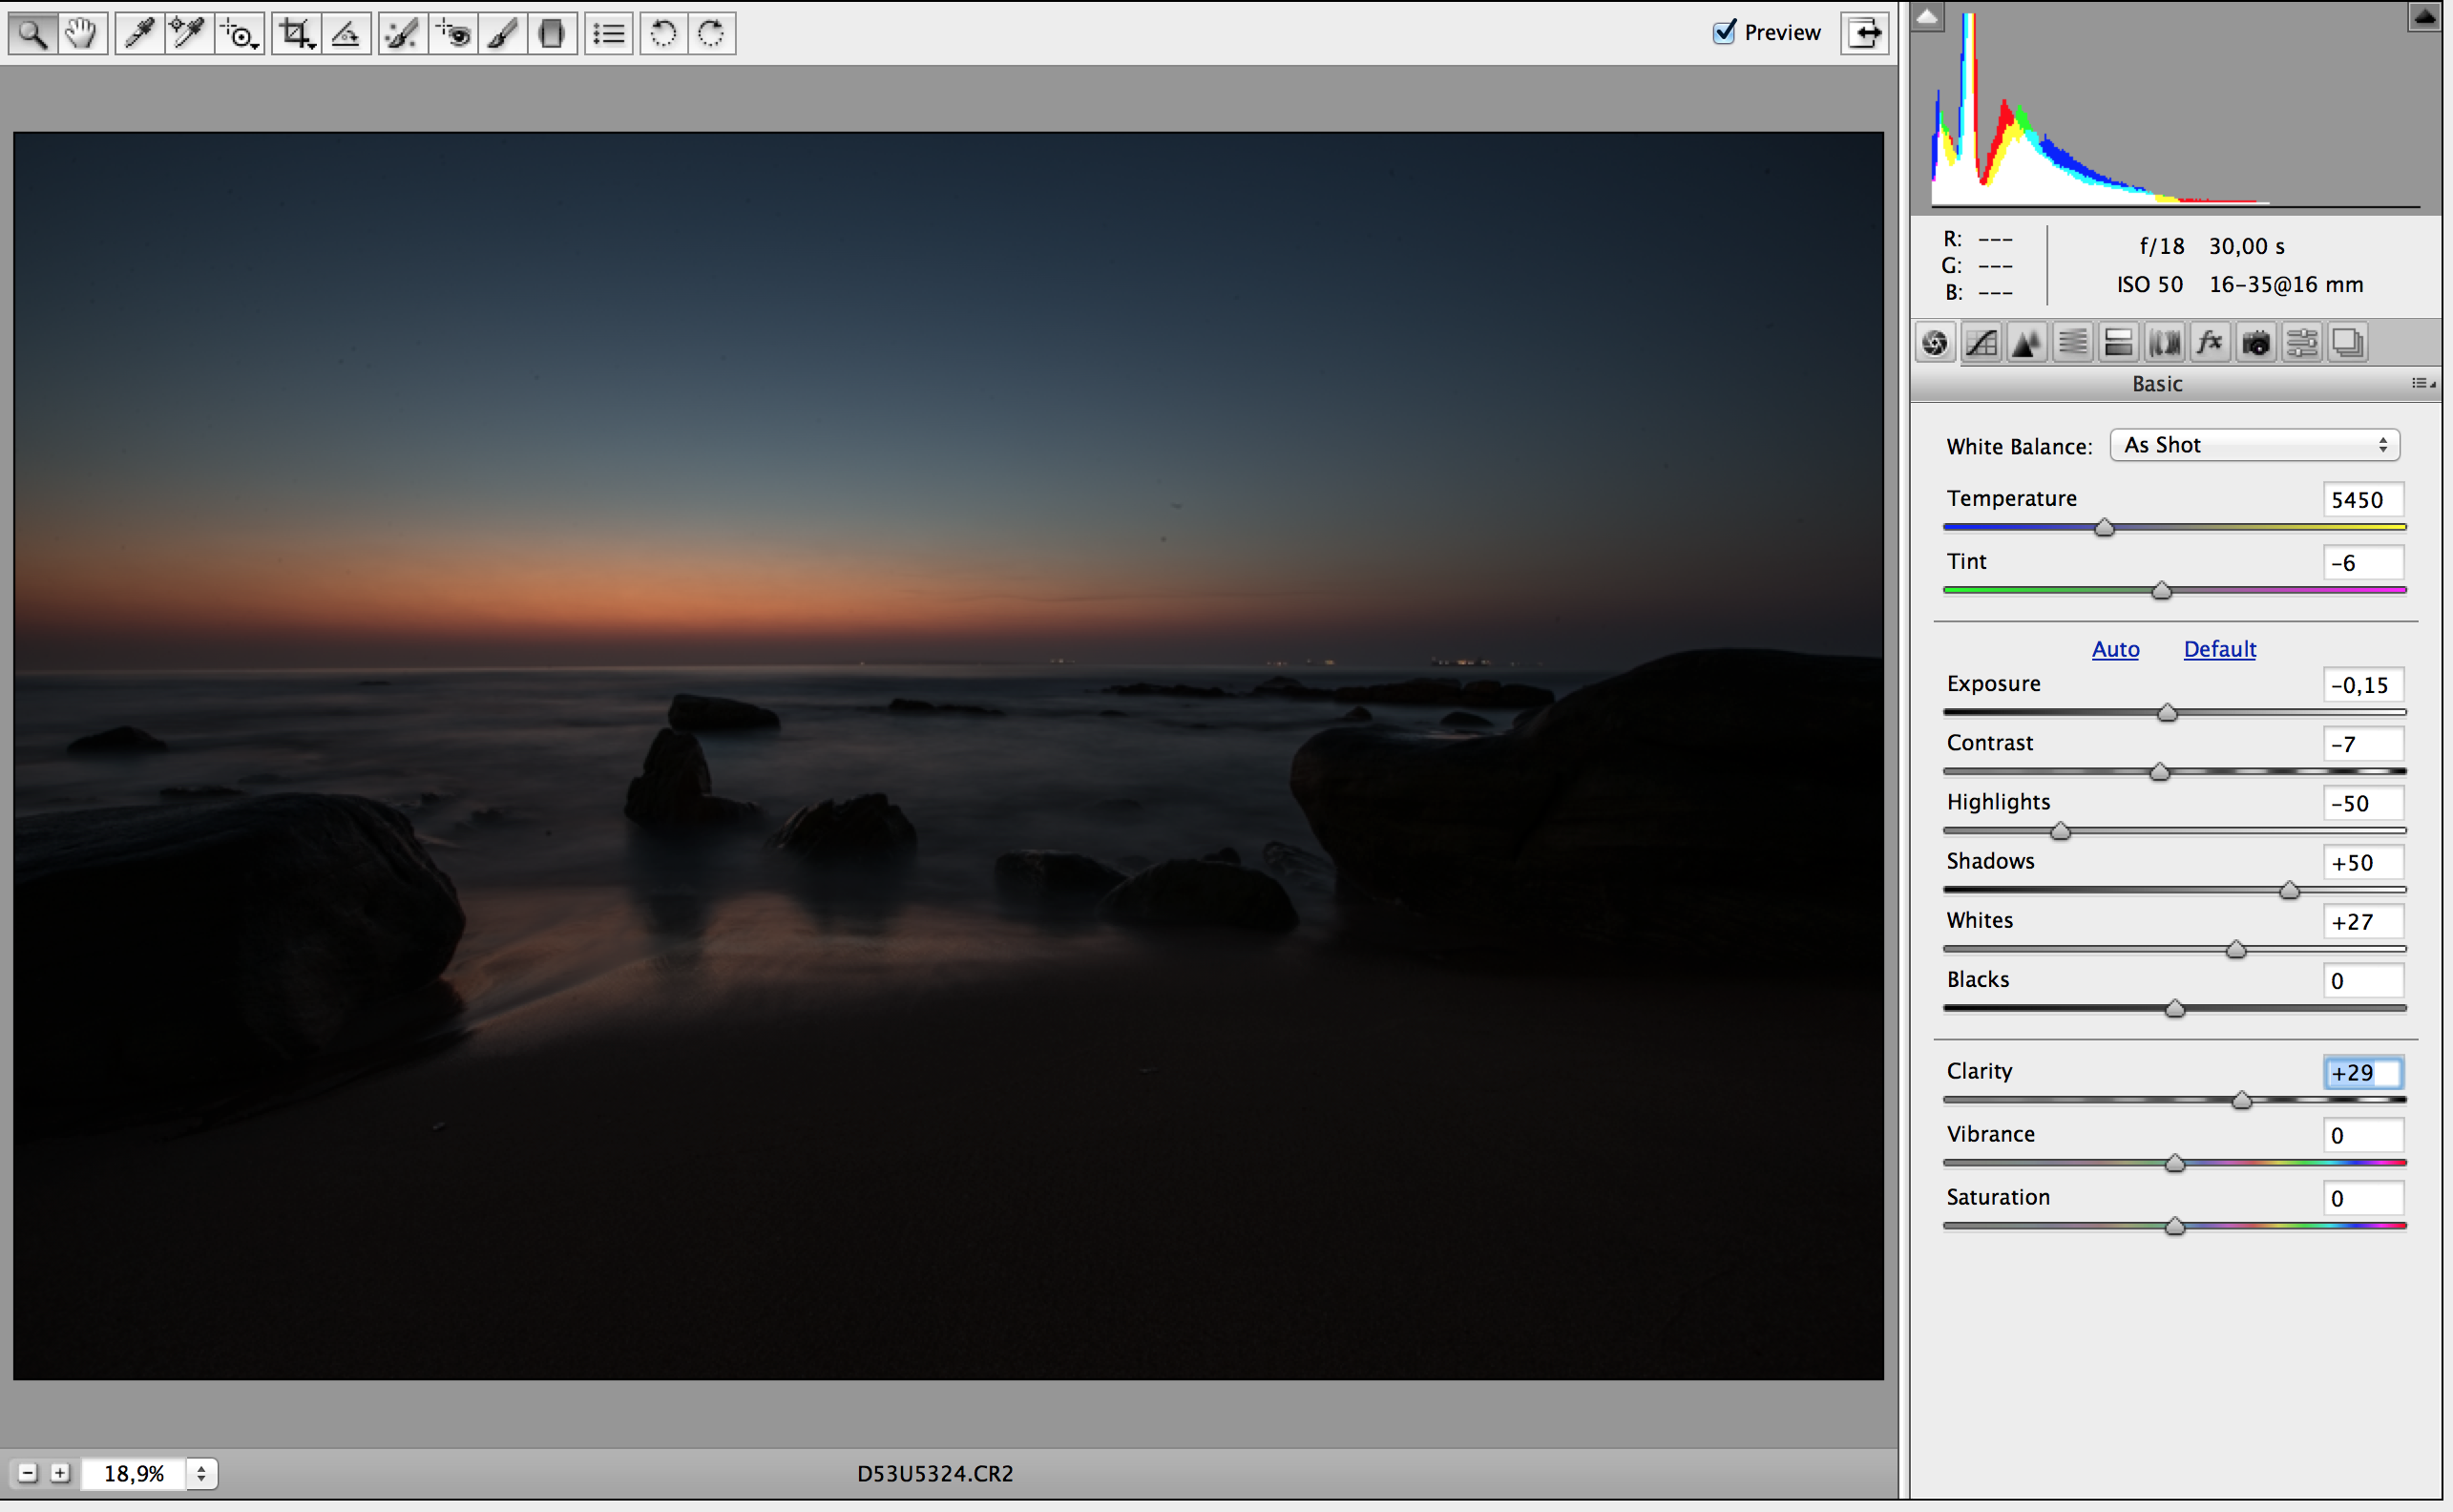
and my foreground exposure:

Notice how I ignored the blowouts on the sky and pushed the exposure and shadows up, and increased the blacks a bit.
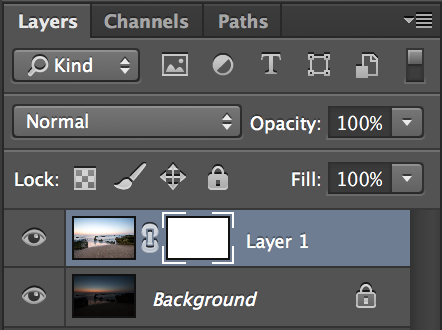
Then I open both of these in Photoshop and I copy one and paste it on the other. The shortcut is cmd A cmd C the cmd V to paste. It will look like this in Photoshop:

Notice the foreground exposure is Layer1 – add a layer mask to this. Sky exposure is the Background.
This shows the Layer mask on Layer1:
Then take a black brush Opacity set at 100% and paint over the sky:
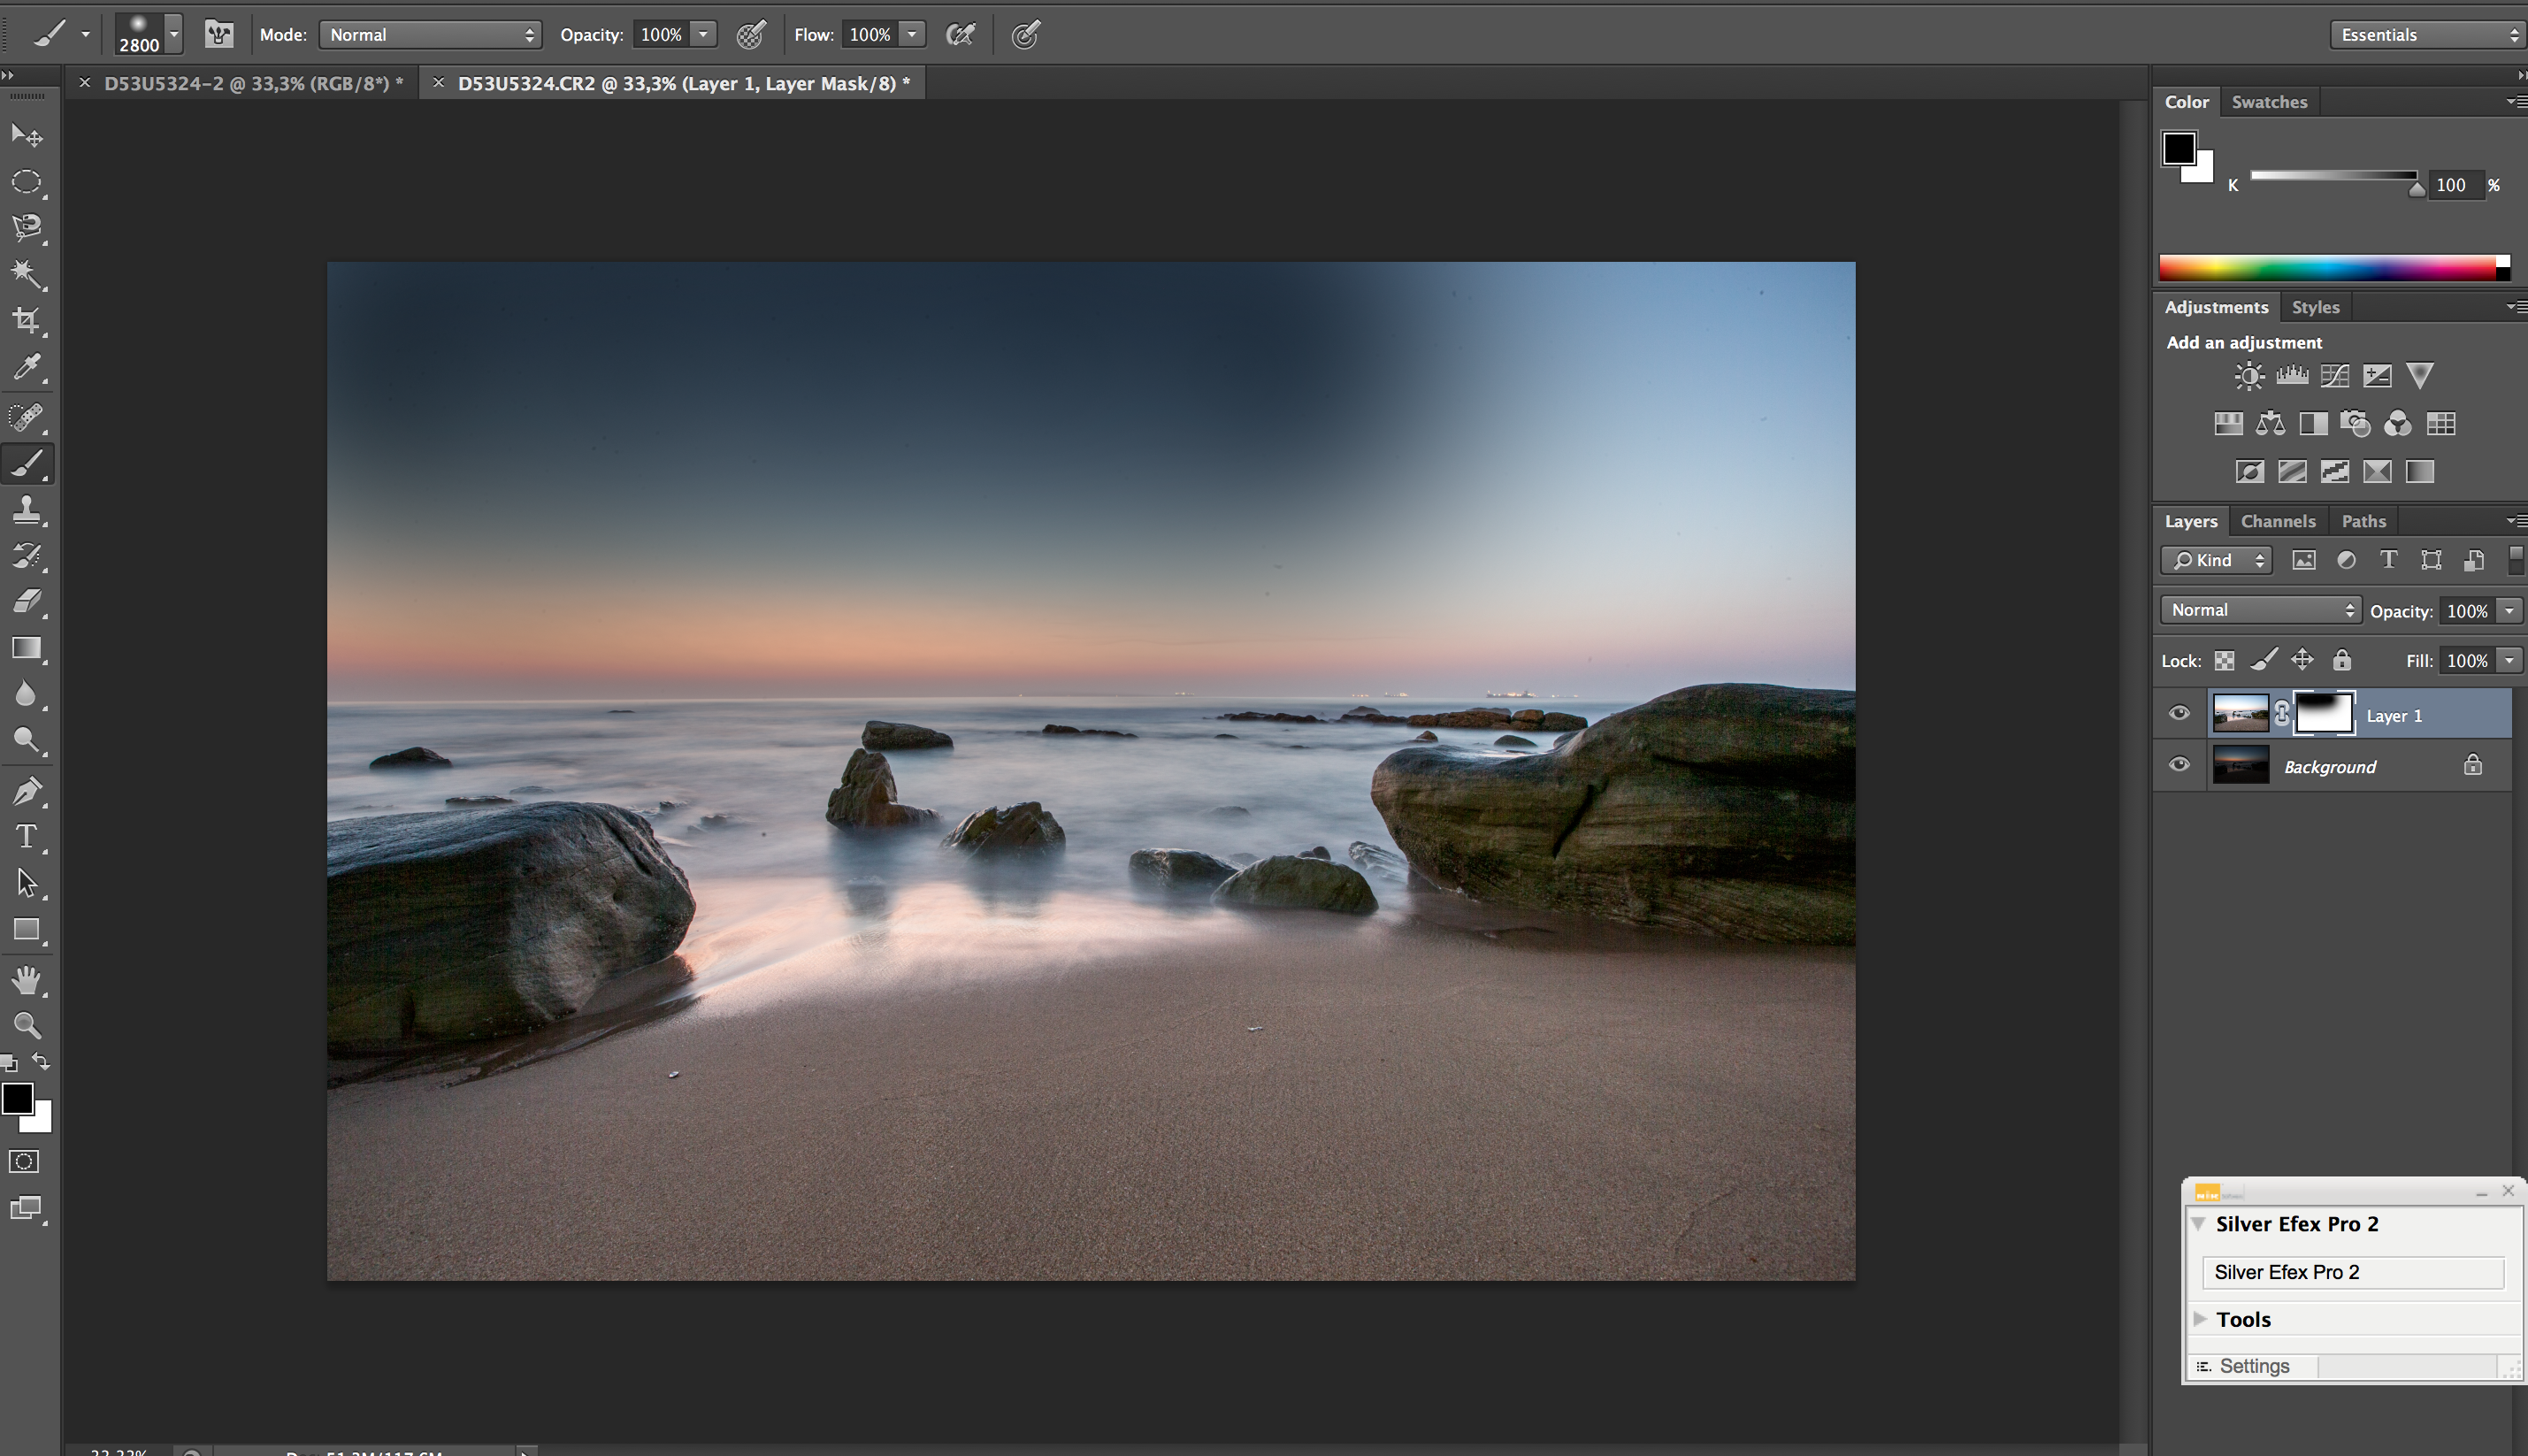
In this case I have painted from left to right and still have to paint the right upper quarter.
Once completed I do levels again and sharpen as normal.

Leave a comment